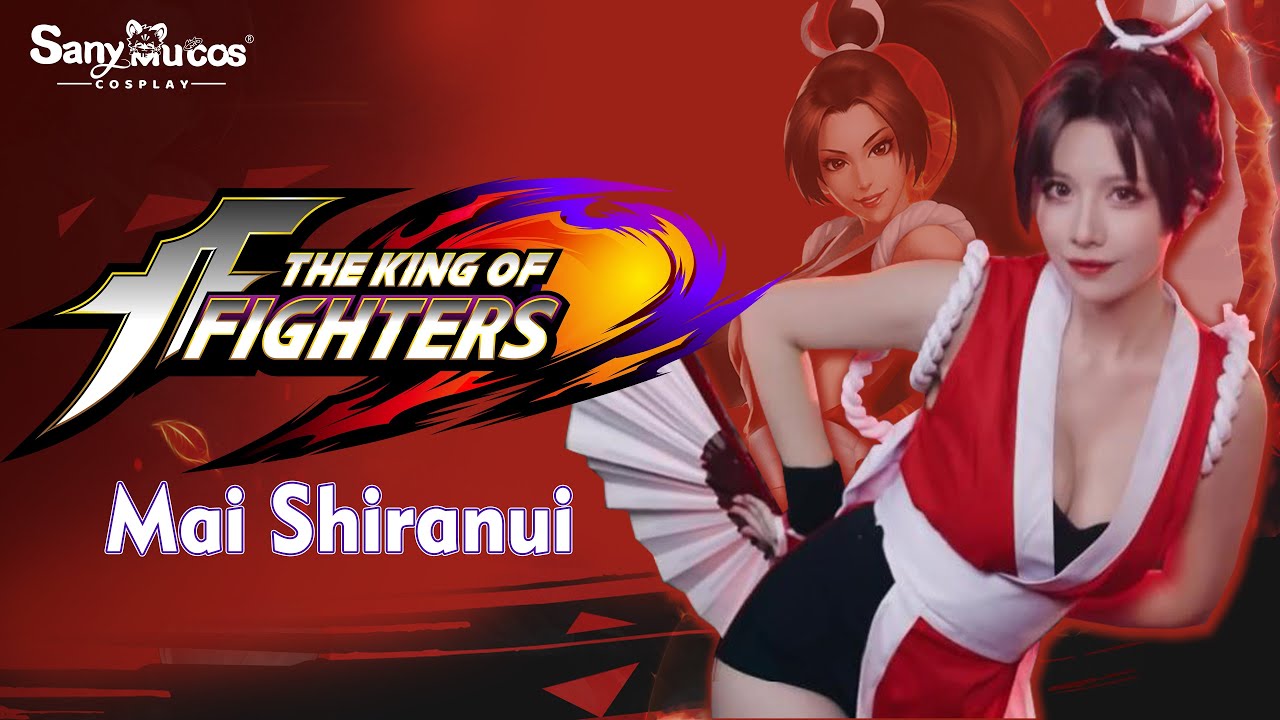
The Mai Shiranui cosplay is one of the pillars of fighting game culture, especially due to her iconic presence in the Fatal Fury and The King of Fighters franchises. However, the character's design presents significant technical challenges: the outfit is highly revealing and her main accessory, the fan, needs to be large enough to be visually impactful, yet light enough not to limit your movements.
In this guide, we will focus on how to balance an authentic look with the functionality required to ensure you can pose and walk the floor with total confidence.
Project scope and planning
Before purchasing any materials, it is crucial to define the level of fidelity you wish to achieve. Mai's outfit consists essentially of a modified short kimono, tied with a wide obi. The complexity lies in the patterning of revealing garments, which requires the fabric to follow the body without creating unwanted gaps.
When planning, consider:
- The environment: Will you be wearing the cosplay at a summer convention or indoors? This dictates the choice of fabric (prefer synthetic fabrics that do not retain excessive heat).
- Construction time: Set aside at least 8 hours for structured sewing and fan assembly.
- Safety: The use of cosplay fastening techniques is non-negotiable here. If the fabric is not well adhered to the skin, the risk of accidental exposure is high.
Physics and Weight Distribution of the Giant Fan
Creating a fan with dimensions between 60 cm and 80 cm requires an understanding of basic leverage and torque concepts. The critical point of mechanical failure lies in the pivot (the screw that joins the slats at the base). When the fan is opened quickly with a wrist flick (the character's classic signature move), centripetal force exerts considerable pressure on the outer slats.
To minimize the effort required to wield and open the fan during long hours at an event, the choice of materials should prioritize the ratio between structural rigidity and density. It is recommended to use 2 mm PS (High Impact Polystyrene) sheets or balsa wood slats reinforced with liquid cyanoacrylate. PS offers flexibility without breaking, while balsa wood stands out for its extremely low weight.
If you opt for expanded PVC, use a 3 mm thickness only for the two outer slats (the fan guards), which suffer the most impact and support the closed structure. The inner slats (the vanes) can be reduced to 1.5 mm or replaced with thin strips of anodized aluminum, which reduces the total weight of the accessory by up to 40% while keeping the center of gravity close to the cosplayer's grip.
Prioritizing Structural Rigidity vs. Mobility
Unlike cosplays with full armor, mobility in Mai Shiranui's outfit is the determining factor for a successful presentation. Therefore, the outfit's engineering must focus on the strategic distribution of rigidity and flexibility:
- High Rigidity Zones (Support): The obi (wide belt) and the rear attachment base for the decorative tail should be treated as load-bearing elements. Using a 3 mm thick high-density EVA foam core (80 kg/m³), or even a moldable thermoplastic sheet (like Worbla or Thibra), ensures that the weight of the styrofoam sphere and the rear bands does not deform the outfit's silhouette.
- High Flexibility Zones (Dynamic Fit): The sides of the kimono and the leg cutouts require fabrics with elastic memory. Using satin with spandex (at least 5% spandex) or high-weight opaque lycra (300g/m²) prevents the "baggy" effect or excess fabric when the cosplayer squats or performs combat poses for photos.
Common errors and troubleshooting
- Fabric slipping: The most frequent error is applying adhesive tape directly over oily or moisturized skin. Solution: Clean the area with isopropyl alcohol before applying the tape to ensure maximum adhesion.
- Misaligned fan: When assembling the slats, if the central pivot is not well secured, the fan will open crookedly. Solution: Use a screw with a locking nut in the center, instead of just glue, to allow the fan to open and close smoothly.
- Loose patterning: Trying to adjust the outfit only with pins. Solution: Use boning (plastic stays) in the side seams of the bodice to maintain the neckline structure and prevent the fabric from sagging.
Common errors and troubleshooting
- Fabric slipping: The most frequent error is applying adhesive tape directly over oily or moisturized skin. Solution: Clean the area with isopropyl alcohol before applying the tape to ensure maximum adhesion.
- Misaligned fan: When assembling the slats, if the central pivot is not well secured, the fan will open crookedly. Solution: Use a screw with a locking nut in the center, instead of just glue, to allow the fan to open and close smoothly.
- Loose patterning: Trying to adjust the outfit only with pins. Solution: Use boning (polyester plastic or light steel spiral bones) in the side seams of the bodice to maintain the neckline structure and prevent the fabric from sagging under the weight of the front drape.
- Detachment due to perspiration: In hot events, the body's natural moisture dissolves common contact adhesives. Solution: Replace generic double-sided tapes with water-based medical contact adhesive (such as Pros-Aide), applying a thin layer to both the skin and the fabric, letting it dry until translucent before joining the parts.
- Cracking in fan slats: Holes made without pre-drilling in wood or acrylic cause instant cracking under tension. Solution: Always use a drill bit slightly smaller in diameter than the pivot screw and apply a drop of cyanoacrylate glue inside the hole to seal and reinforce the inner walls of the perforation.
Step-by-step: Assembling the outfit and fan
1. Patterning and fitting the outfit
To ensure safety, work with a spandex base under the kimono or use textile double-sided tape on all neckline edges.
- Step 1. Silhouette adjustment: Use a bodysuit pattern as a base to draw the cutouts of your Mai Shiranui cosplay.
- Step 2. Tape application: Apply medical-grade adhesive tape to the inner edges of the neckline. Check: The fabric should tension slightly against the skin without creating folds.
- Step 3. Obi structuring: The wide belt must be rigid. Use heavy interfacing or 2mm EVA foam covered with the same fabric as the kimono to maintain the shape. Check: The belt must support the weight of the fan when attached to the waist.
2. Giant fan construction
For a cosplay fan that impresses, the ideal size is between 60cm and 80cm in length when closed.
- 1. Cutting the slats: Cut 12 to 16 slats of PVC or wood, 70cm long. Sand the ends until rounded.
- 2. Pivot drilling: Drill a hole 2cm from one of the ends of all slats. Align them and insert a long screw with a self-locking nut. Check: The fan should open smoothly with a wrist flick.
- 3. Fabric attachment: Use light fabric (like Oxford or synthetic silk). Cut into a semicircle shape and glue to the slats using high-strength contact glue. Check: The fabric should not show wrinkles or air bubbles at the slat joints.
- 4. Visual finish: Apply acrylic paint details or vinyl appliques to replicate the character's iconic flames. Check: The fan should maintain its open shape without collapsing under its own weight.

By following these cosplay fastening techniques, you ensure your look remains impeccable, allowing you to focus entirely on performance and embodying the character. Remember to perform a full movement test in front of the mirror, simulating combat poses, to check if any area needs additional reinforcement with adhesive tape. With your giant fan finished and the outfit properly adjusted, you will be ready for any event.
Body Fastening Engineering and Adaptation for Different Body Types
To ensure that the iconic deep neckline and side slits of Mai Shiranui's outfit stay in place without accidents, the pattern needs mechanical and adhesive support. Forget common adhesive tapes; skin-to-fabric safety requires professional-grade products. Use body double-sided tape from brands like Hollywood Fashion Secrets or That's My Type (2.5 cm width) applied directly to the edges of the red satin or spandex. For areas of higher tension, such as securing the neckline at the sides of the bust, use Pros-Aide adhesive (medical-grade acrylic adhesive) applied with a cotton swab; it resists sweat and keeps the fabric glued to the skin for up to 12 hours, being easily removed with 70% isopropyl alcohol.
Adapting the cut for different body types is crucial. For larger busts (above size 44), support should not rely solely on tape. Sew a structured half-cup bra inside the lining and add a 20 mm wide flat elastic band, dyed red, which passes under the bust and attaches at the back with triple bra hooks. For silhouettes that require greater abdominal support or wider hips, the secret lies in the cut of the front panel (the "belly" of the outfit). Instead of a straight strip, pattern the front panel with a slight anatomical curve of 3 cm on the sides, which prevents the fabric from wrinkling or riding up when walking. If you prefer more coverage on the sides of the hip, increase the width of the side band to 8 cm and use skin-tone shapewear (such as those from the Lupo Loba brand) modified with high-cut leg openings and attached to the outfit with 10 mm plastic snap buttons.
Emergency Maintenance and Outfit Durability at Events
The Mai Shiranui cosplay has two major enemies at events: the weight of the giant fan and the drag of the decorative tail (the famous rear knot with the white sphere). To ensure you don't end the day with a destroyed outfit, assemble a "Shiranui Survival Kit" in a small hidden pouch. This kit should contain: Super Bonder Flex Control instant glue (whose gel formula does not drip on fabric), nickel-plated steel safety pins (size 3, 45 mm), and a needle with pre-threaded red polyester thread.
The giant fan (usually structured in light wood or 2 mm PS sheets) suffers severe wear on the joints. If the fan's central pin loosens, replace it beforehand with a 4 mm wood screw with a self-locking nut (wing nut), which allows you to adjust the opening pressure manually during the event. To avoid carrying the 80 cm fan in your hand the whole time, install a quick-release system: sew a 30 mm metal carabiner on the back of the waistband (obi) and attach a discreet keyring ring to the base of the fan handle.
The weight of the back sphere (made of 15 cm diameter EPS/styrofoam covered in fabric) tends to pull the red headband down. Avoid this by anchoring the main headband to a rigid internal abdominal belt using strong-hold Velcro straps (original Velcro brand, 50 mm wide). If the fabric tail starts to fray or get dirty on the event floor, pre-apply a layer of Acrilex milky termolina to the inner edges of the fabric to seal the fibers, and use small brass snap fasteners to suspend the tail by 15 cm while walking through crowded hallways.
Bringing the most famous ninja in video games to life requires as much respect for her striking aesthetic as technical intelligence in the execution of the costume. By mastering the engineering behind the perfect fit and the physics of the iconic giant fan, you will not just be wearing an outfit, but embodying the grace, fire, and imposing nature of Mai Shiranui. Adjust your ribbons, wield your fan with pride, and prepare to dominate the stage with the same unwavering presence that has captivated generations of gamers around the world.
Estimated Budget
| Item | Price range | Source |
| --- | --- | --- |
| Body Tape | $3.00 - $8.00 | Estimated FX |
| Wooden or PVC rods (for fan) | $4.00 - $10.00 | Estimated FX |
| Fabric for fan (1m) | $5.00 - $12.00 | Estimated FX |
| Contact glue or reinforced hot glue | $2.00 - $6.00 | Estimated FX |
Estimated conversion based on a reference FX rate; local retail prices may differ.