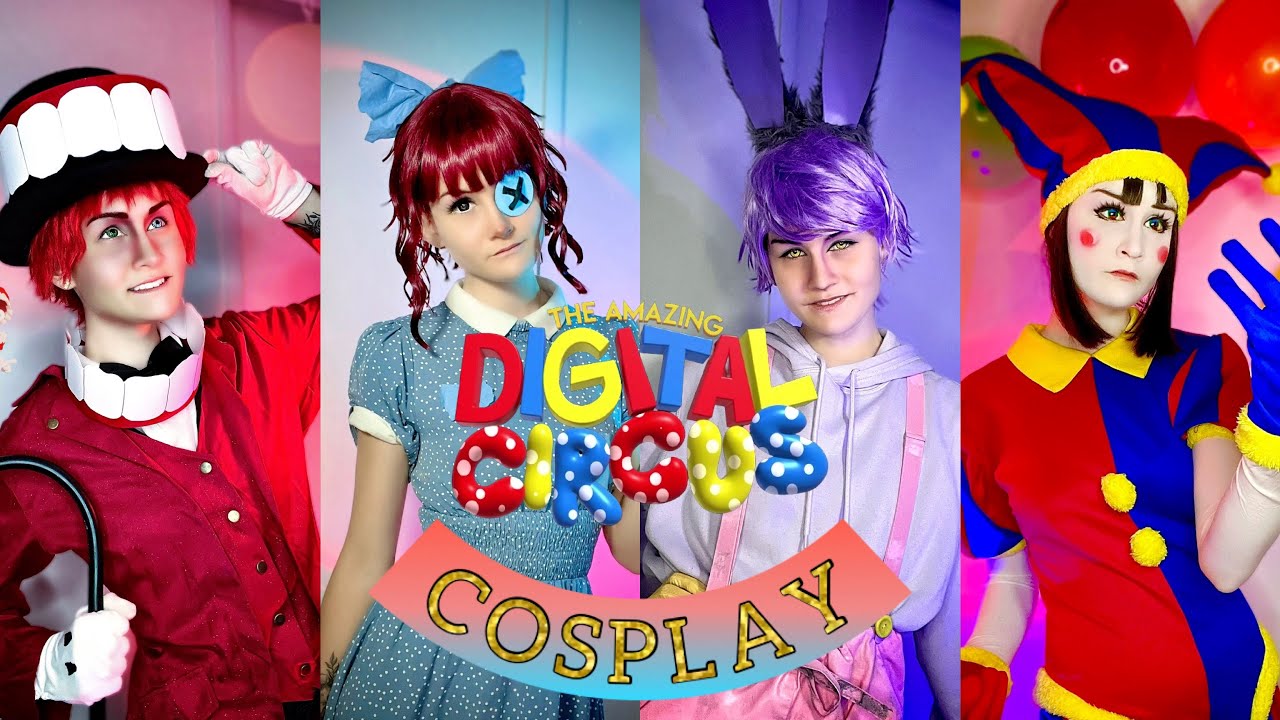
1. Analyzing Pomni’s design: colors, shapes and textures
Pomni is the epitome of the “digital circus” look: absolutely white skin, oversized gradient eyes shifting from pink to blue, doll-style round cheeks, and lines that recall 3-D vector art. To replicate Pomni makeup, the first step is decoding her geometric shapes—everything about her is built from perfect arcs, straight lines and vanishing points that mimic a low-poly 3-D environment. Any deviation in symmetry or contour angle breaks the illusion.
Textures are also key: clown stripes, circus stars and tiny neon-green “glitches” appear on the collar and around the eyes. These details aren’t just flat paint—they need relief, shine and even a sense of depth to look rendered. That’s why we’ll combine loose pigments, hand-cut stencils and flat resin rhinestones to create the texturized circus makeup that holds up even under UV event lighting.

Want to know the secret to the “digital porcelain doll” effect? The skin must be 100 % matte—no shine, no visible pores. This demands an ultra-matte foundation in thin but highly pigmented layers. If you’ve cosplayed characters with traditionally “alive” skin (like elves or vampires), get ready to flip the logic: here, the more artificial, the better.
2. Skin prep and safety
Before applying any fantasy color, cleanse the face with pH-neutral soap and do a mild chemical exfoliation 24 h beforehand—this prevents flaking during the con. Apply a light oil-free moisturizer and wait 10 min for full absorption; any excess oil will break down the white base later. Sunscreen is optional: if you use one, pick a totally dry mineral; otherwise skip it—Pomni has no “real skin”, so SPF isn’t an aesthetic priority.
Do a patch test on your arm with white water-activated paint 12 h prior. Frequent applications of body paint can cause irritation or contact dermatitis, especially if you mix loose pigments with 70 % alcohol. A hypoallergenic alternative is to dilute the pigment in thermal water instead of alcohol—it loses a bit of durability but gains safety. If your skin is sensitive, avoid adhesive stencils: peeling them off can cause micro-tears and later redness.
Checkpoint: after 30 min of the test application there should be no itch, burn or flaking. If any reaction occurs, switch paint brands or go for a white mousse base (less pigmented but safer). Remember: Pomni cosplay step-by-step includes medical care—not just aesthetics.
3. White base and digital matte effect
Choice of white base determines 80 % of the final look. I recommend Kryolan 15 ml water-activated paint or, for tighter budgets, Mehron’s pan-stick (30 g). Both dry 100 % opaque, but Kryolan accepts later layers better without cracking. Wet a “waffle-stipple” sponge brush and work the paint on the back of your hand until it forms a creamy paste—this avoids the “jelly” look and ensures even coverage.
Apply by stippling, never dragging. The trick is to work in 3 × 3 cm zones, pressing the product into the pores. When you notice the texture starting to “break” (skin dots appear), stop and lightly mist the brush with thermal water—never add more paint. You want the least product for the most coverage. Finish with an alcohol-based setting spray (Model in a Bottle or Ben Nye Final Seal) to lock in zero shine.
For the digital effect, press ultra-fine loose powder (HD silica) on with a velvet puff, then remove excess with a kabuki. The skin should look “rendered”: no glow, no translucency. If any satin spot shows, touch up with a hint of white translucent pressed powder. Checkpoint: when you swipe a finger, nothing should transfer—the surface must feel “dry-touch”.
4. Exaggerated eyes: gradient and cartoon outline
Use an acetate stencil cut in a “bogeyman” eye shape (rounded inner corner, 30° angled outer corner). Stick it to the lid with low-tack tape and apply neon pink shadow from the center outward, using a natural-bristle brush. Then shift the stencil and repeat with neon blue shadow on the outer corner, blending where they meet for a perfect gradient.
The cartoon outline is done with matte black gel liner (I recommend Inglot 77) and a synthetic angled brush. Draw a 4 mm-wide line—thicker than usual—and end in a triangular outer corner. The lower line uses the same product but with a fine-tip brush, creating an inverted “D”. If you make a mistake, don’t use remover: let it dry and correct with an angled brush dampened in white base. This keeps the “vector” aesthetic without smudges.
For the “digital makeup glitch” effect, add 1 mm white lines crossing the black outline at three random points. Use a needle-tip brush and loose white pigment mixed with 1 drop of water. The result resembles JPEG compression artifacts—exactly what we want in The Amazing Digital Circus cosplay.
5. Round cheeks and button nose
The apples are drawn as a perfect 2.5 cm diameter circle. Use a cardboard circular stencil or a shot glass as a template. Apply neon pink blush (Suva Beauty UV reactive) inside the circle and blend outward toward the temples, without crossing the stencil edge — keep the geometric shape. The tip is to use a duo-fiber brush: the long bristles deposit pigment without dispersing.
The button nose is done with the same white base, but add a touch of cool gray shadow on the sides to create depth illusion. Use a small precision brush and draw two 5 mm semicircles right above the nasal wings. Next, highlight the center with pearlescent white pigment (just a touch — we want relief, not disco shine). If you want to increase durability, mix the pigment with 1 drop of mixing medium and seal with setting spray.
Checkpoint: when smiling, the apples should form a symmetrical circle and the nose should look like a 3D ball — if it looks “flat,” increase the contrast between gray and white. This 3D character makeup technique is what differentiates flat makeup from one that looks straight out of a render.
6. Small mouth and painted smile
Pomni’s mouth shape is a 4 cm wide and 1 cm tall arc — much smaller than the real mouth. Use a white liner pencil to erase the natural corners and, with a cat-tongue brush, draw the new contour with matte red lipstick (MAC Ruby Woo or Kryolan’s “Bright Red” version). The stroke thickness must be uniform: 3 mm. If you make a mistake, correct with white base and a precision brush — never with a cotton swab, which leaves fuzz.
The painted smile is done with the same lipstick, but extending 5 mm past the natural corner, forming a perfect “U.” For the cartoon effect, add a white highlight dot in the center of the lower lip using pearlescent white pigment. This creates the illusion of a 3D lip — a common technique in colorful circus makeup. Finish with a touch of clear gloss only in the center, avoiding outer areas so as not to lose the overall matte effect.
7. Texture details: stripes, stars, and glitch
The clown stripes are made with an acetate stencil and diluted 1:1 black water-based paint. Position the stencil horizontally, aligned to the imaginary collar, and apply with a makeup sponge using tapping motions. Alternate 5 mm and 8 mm stripes to create visual rhythm. Let each band dry 2 min to avoid smudging.
The stars are applied with a 4-petal mini-stencil and blue-neon pigment. Use a needle-tip brush and load the pigment dry; then fix with 1 drop of mixing medium. The trick is to apply them over the back of a clean brush: this creates a controlled “spatter” that mimics digital confetti. For the glitch, use thin painter’s tape to mask small rectangles and apply lime-green shadow inside. Remove the tape after 30 s for crisp edges.
Checkpoint: hold a mirror under the chin — the stripes should look like “seams” of a digital costume. If they are crooked or patchy, correct with an angled brush and black paint before proceeding. This step is crucial for the EVA texture makeup effect without needing physical props.
8. Application of stones and sparkles
Choose flat-back SS6 or SS10 crystals in crystal AB to keep the color scheme without adding random hues. Use a beeswax pencil to position each stone precisely. Ideal spots are: (1) inner eye corner, (2) center of forehead, (3) top of the apple. Avoid filling the face — less is more in Pomni makeup.
Glue: use liquid rhinestone adhesive (Gem-Tac or skin-safe makeup glue). One micro-drop on the back of each stone holds for 8 h. If you need early removal, warm coconut oil and massage for 30 s — they come off without trauma. For outdoor events, seal with alcohol-based setting spray, but mist from afar (30 cm) so as not to cloud the crystal.
9. Durability at events and touch-ups
Assemble a mini “battle kit”: 3 g loose white pigment pot, synthetic angled brush, foam-tip swab, 30 ml setting spray, and 5 spare rhinestones. Main failure points are: (a) white base flaking near the mouth (fix with brush dampened in thermal water + touch of paint), (b) glitch losing color (carry neon pigment pot), (c) rhinestones falling off (carry mini glue tube).
Golden rule: never touch the face. If you need to scratch, use the back of your gloved hand. The textured circus makeup lasts about 6 h in air-conditioned venues and 4 h in the sun. When you notice shine on the T-zone, use a rice paper sheet to blot — never compact powder, which can stain the white base.
Product comparison: drugstore vs premium
| Item | Drugstore (R$) | Premium (R$) | Practical difference |
|---|---|---|---|
| White base | Pan-stick Mehron 30 g, 35 | Kryolan 15 ml, 50 | Kryolan more opaque and less transferable |
| Neon pigment | Suva Beauty 2 g, 25 | MAC Neon Pigment 2 g, 60 | MAC finer, less fallout during the day |
| Stencil | DIY acetate 15 | Stencil Revolution 20 | Premium comes with alignment guides |
| Rhinestones | Generic pack 100, 10 | Swarovski SS6 100, 40 | Swarovski shines more under UV light |
| Setting spray | Tracta 100 ml, 30 | Ben Nye Final Seal 100 ml, 40 | Final Seal holds 2 h longer |
| Angled brush | Ótica 18 | Morphe 25 | Morphe keeps shape after washes |
Common mistakes & solutions
-
White base cracking
Cause: thick layer or poorly cleansed skin.
Solution: cleanse with micellar water, dry 100 %, and apply thin layers with a damp sponge. Always finish with alcohol-based spray. -
Green glitch fading
Cause: loose pigment without fixative.
Solution: mix pigment with mixing medium 1:1 and seal with a mist of spray. If no medium, use 1 drop water + 1 drop makeup glue. -
Rhinestones falling after 2 h
Cause: excess glue or oily skin.
Solution: remove oil with 70 % alcohol, wait 20 s, apply micro-drop of glue and press for 10 s with applicator. Avoid spraying directly onto the stones; always from a distance.
Final removal and post-cosplay care
Start with the rhinestones: moisten with warm water, apply coconut oil and massage—they come off without pulling. For the white paint, use warm water + glycerin soap; if residue remains, apply warm-water compress for 30 s and gently exfoliate with microfiber towel. Never use nail-polish remover or acetone—it can burn already sensitive skin.
After removing everything, apply a calming panthenol or chamomile mask for 10 min and finish with fragrance-free moisturizer. If you notice redness, use a 1 % hydrocortisone cream for 2 days—but stop if irritation occurs. Next time, do intensive hydration 24 h before cosplay: well-nourished skin accepts paint without flaking.
With these steps, you’ll have the complete Pomni makeup, long-lasting and photogenic—ready to go viral at the event and withstand photographers’ flashes until the last panel.
Estimated Budget
| Item | Price range | Source |
| --- | --- | --- |
| Tinta aquática branca Kryolan 15 ml | $9.00 - $11.00 | Estimated FX |
| Pigmentos soltos neon rosa+azul 2 g | $5.00 - $6.00 | Estimated FX |
| Stencils acetato 6 peças | $3.00 - $4.00 | Estimated FX |
| Strass plano SS6/SS10 pacote 100 | $2.00 - $3.00 | Estimated FX |
| Spray fixador 100 ml | $6.00 - $8.00 | Estimated FX |
| Pincel chanfrado sintético | $3.60 - $5.00 | Estimated FX |
Estimated conversion based on a reference FX rate; local retail prices may differ.