The transition from 3D anime aesthetics to the real world is one of the greatest technical challenges for a cosplayer. The goal is not just to "look like the character," but to translate the exaggerated proportions, clean lines, and characteristic shine of 2D into the three-dimensionality of human skin. Realistic anime makeup requires precise control over light, shadow, and eye shape, balancing fantasy with facial harmony.
This guide will explore the cosplay makeup techniques necessary to elevate your level, moving beyond the basics and into a professional approach to characterization.
Project scope: Defining the ambition
Before opening your makeup kit, you need to define the intended level of "realism." Anime characters like Demon Slayer or Spy x Family have distinct traits that require different approaches. Analyze your character: do they have large, round eyes (doll eye style) or upturned, aggressive eyes (tsurime)?
Your goal should consider the execution time (usually 90 minutes for a full look) and the durability required for the event. Remember: excess layering can cause cracking, while a lack of contouring technique will leave the face looking "flat" under convention lights.
Technical priorities in cosplay makeup
Cosplay makeup requires a focus on products that guarantee durability under studio and event lighting. Investment should be concentrated on high-coverage, long-lasting foundations, as well as cosmetic contact lenses from reliable sources, which are crucial for both visual impact and ocular safety. Simplify your finishing items, such as false eyelashes and contour palettes, where affordable performance brands deliver excellent results. The differentiator of 3D anime aesthetics lies not in the cost of the product, but in the mastery of application technique and the precision of the lines.
Step-by-step: Transposing traits to the human face
1. Preparation and facial camouflage
Start by cleaning the skin with micellar water. Apply a silicone-based primer to minimize pores. If your character has "porcelain" skin (like Komi Shouko), use a high-coverage foundation applied with a damp sponge (dabbing, never dragging).
- Checkpoint: The skin should be uniform, free of visible blemishes, and have a matte finish that does not transfer to the touch.
2. Anime facial contouring
Contouring is what defines the 3D anime aesthetic. Use a grayish-brown (cool) tone to sculpt the cheekbones and jawline. The goal is to slim the face. Apply the contour towards the center of the cheek, but stop before the mouth line.
- Checkpoint: When looking straight ahead, the face should appear visibly narrower and more angular than your natural bone structure.
3. Realistic anime eyes
This is the most critical part of the cosplay makeup tutorial. To enlarge the eyes, use a white or beige pencil on the lower waterline. Pull the eyeliner outward, creating the tsurime (upturned eyes) or tareme (downturned eyes) effect, depending on the character. See more about these techniques in our guide to techniques for upturned eyes and expressions.
- Checkpoint: The eyeliner must be symmetrical. If you close your eyes, the line should look like a natural continuation of the eyelid's curvature.
4. Eyelash and lens application
Glue the false eyelashes slightly above your natural lash line. This creates the "doll" effect. Insert the contact lenses with clean hands and use lubricating eye drops.
- Checkpoint: The eyelashes should not be peeling at the inner corners. The lenses must be centered and comfortable.
5. Finishing and SFX details
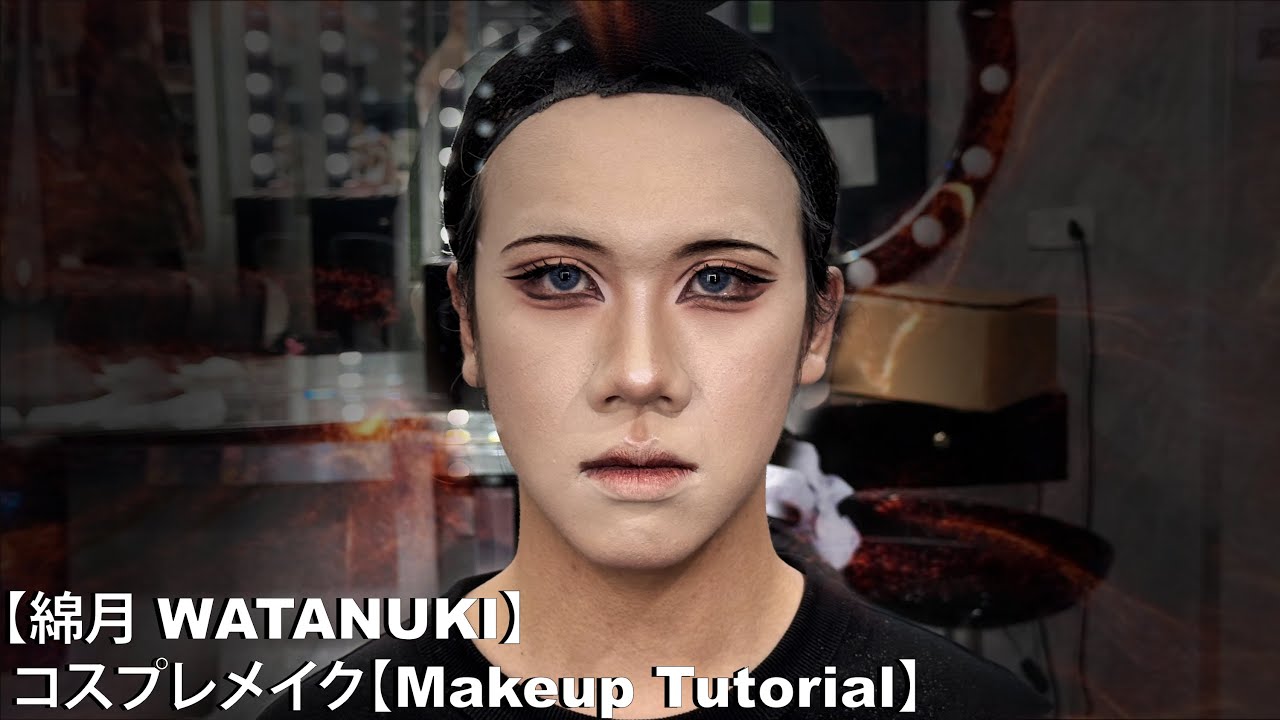
For characters that require marks, scars, or impact details, use makeup wax or liquid latex. For a cleaner look, like Watanuki's, focus on pallor and precise contouring. Check out this video to understand the aesthetic:
- Checkpoint: All cream products must be set with translucent powder. The makeup should withstand a "forced smile" test without creasing into deep expression lines.
Safety and Skin Care
Before starting any characterization, perform a patch test with the products on a small area of skin to avoid allergic reactions. When using eyelash adhesive or latex for prosthetics, ensure the products are dermatologically tested for facial use. Never sleep with heavy makeup; always use bi-phase makeup removers or cleansing oils to completely remove residues, preserving the health of your skin barrier between cosplay sessions.
Advanced finishing tips
If your character has non-human elements, such as ears, integration with makeup is essential. You must blend the foundation into the edges of the prosthetic so there is no visible division between the skin and the accessory. To learn how to make seamless realistic ears, see this tutorial:

Additionally, if you are looking for a more dramatic or digital style, consider the contouring techniques mentioned in our Makeup guide for sad/glitch expressions. The use of lights (highlighter) on the right points, such as the tip of the nose and the cupid's bow, provides the necessary volume so that the face does not look like a flat drawing in photos.
Always remember to remove your makeup with a powerful dual-phase makeup remover, especially if you use water-resistant eyelash glue or latex prosthetics. Your skin's health is your greatest asset for future cosplays.
Troubleshooting common issues
- Makeup is "melting": This is likely due to excess oil or lack of setting. Use a long-lasting setting spray (such as Urban Decay All Nighter) after finishing everything.
- Eyeliner cracked: The product may be expired or dry. Add a drop of makeup thinner to your liquid eyeliner to restore its fluidity.
- Watery eyes: If you wear contact lenses, make sure to put them in BEFORE doing your makeup to prevent powder residue from getting into your eyes. If irritation persists, remove the lens immediately.
Mastering cosplay makeup is a constant process of trial and error. Do not despair if your first test does not turn out perfect; transposing features requires muscle memory and, above all, patience to adjust every millimeter of your eyeliner until the 3D effect is successfully achieved.
Estimated Budget
| Item | Price range | Source |
| --- | --- | --- |
| Base de alta cobertura | $8.00 - $30.00 | Estimated FX |
| Paleta de contorno e iluminação | $6.00 - $24.00 | Estimated FX |
| Delineador líquido de precisão | $4.00 - $16.00 | Estimated FX |
| Cílios postiços de diferentes tamanhos | $3.00 - $10.00 | Estimated FX |
| Lentes de contato cosméticas | $12.00 - $40.00 | Estimated FX |
Estimated conversion based on a reference FX rate; local retail prices may differ.