The pursuit of visual perfection at cosplay conventions has reached a new level with the rise of cosplay optical illusion effects. Whether to simulate the levitation of mystical characters or to create floating cosplay footwear that defies gravity, the engineering applied to the costume has become as important as the sewing. This guide details how to structure, build, and test these effects safely.
Analyze the scope before investing
Before purchasing materials, define the project's ambition. Challenging cosplay physics requires a balance between aesthetics and functionality. Ask yourself: does the effect need to work in continuous motion (walking) or just for static photos? If the goal is walking, invisible cosplay support techniques must be reinforced with steel or high-density acrylic. If it is only for photos, lighter structures like Buckram or high-density foam may suffice.
Check deadlines and weight limitations. Adding hidden supports alters your center of gravity. Always test balance in a controlled environment before taking the project to a convention. Successful cosplay engineering begins with a cardboard or masking tape prototype to validate if the illusion works under different viewing angles.
Estimated Budget
| Item | Price range | Source |
| --- | --- | --- |
| Polyurethane resin or high-density foam (rigid EVA) | $10.00 - $30.00 | Estimated FX |
| Transparent acrylic sheets (structural support) | $16.00 - $40.00 | Estimated FX |
| High-strength nylon thread (0.8mm+) | $3.00 - $8.00 | Estimated FX |
| Structural adhesives (two-component epoxy) | $6.00 - $14.00 | Estimated FX |
Estimated conversion based on a reference FX rate; local retail prices may differ.
Where to invest and where to simplify
Where to spend: Invest heavily in structural adhesives and base materials (such as acrylic sheets or resin). The failure of a support at an event can cause accidents. Two-part epoxy is non-negotiable to ensure that parts do not come loose under stress.
Where to simplify: The aesthetic finish can be simplified with smart painting and camouflage techniques. Use fabrics that match the convention floor or patterns that disguise the presence of hidden cosplay supports. Remember, the illusion is sold by the observer's brain; if the color of the support is identical to the environment or the shadow, it becomes invisible.
Errors that destroy the budget and the illusion
- Underestimating weight torque: When creating levitating cosplay feet, body weight exerts incredible leverage. Solution: Always use a metal or acrylic base that distributes pressure across the entire sole of the foot, not just at one point.
- Ignoring material flexibility: Materials that are too rigid without a "flex point" will break when walking. Solution: Integrate hidden hinges or use high-density (HD) EVA that supports compression without permanently deforming.
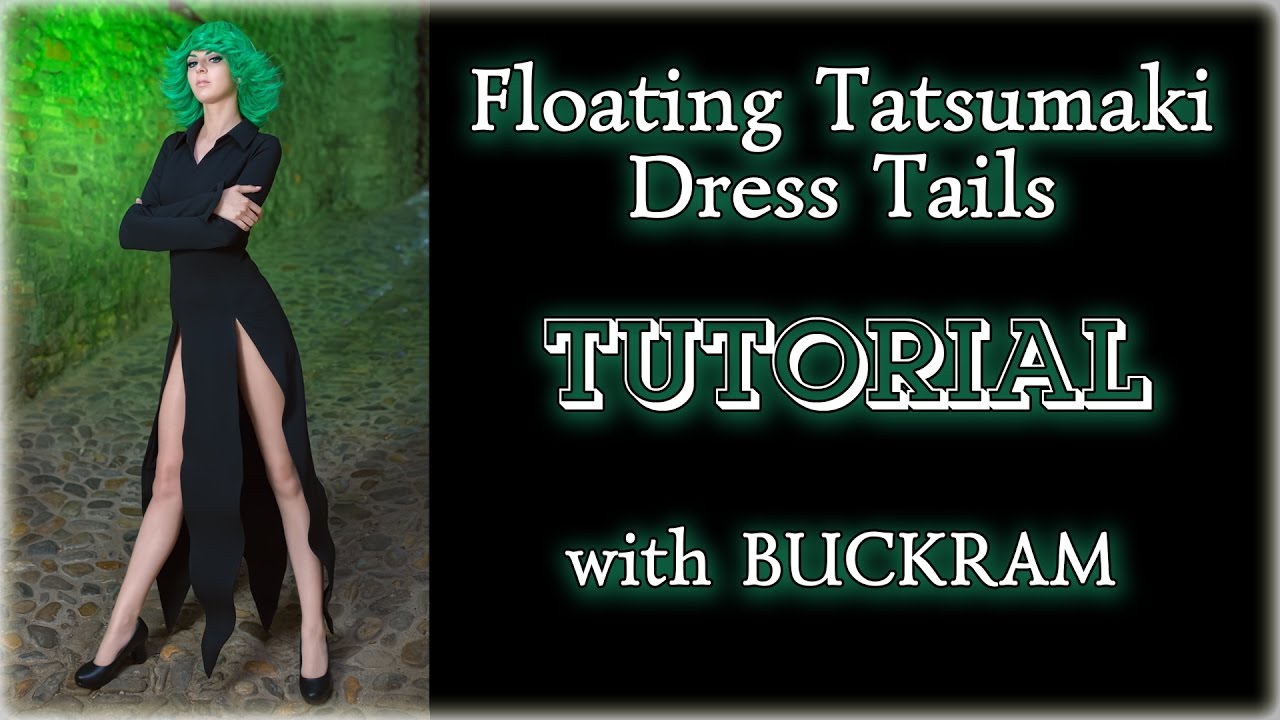
- Failure in camouflage: Leaving supports shiny or visible. Solution: Apply matte paints or light-absorbing materials. See how Buckram helps structure shapes without adding unnecessary weight:
Step-by-step to create floating footwear
Cosplay shoe modification is a process that requires patience and rigorous stress testing. Follow these steps to build a solid foundation:
- Design the structural base: Draw a template on cardboard in the shape of your foot and the desired platform. Ensure the center of mass is aligned with your actual heel to prevent tipping.
- Cut the acrylic support: Using a jigsaw or laser cutter, cut the acrylic sheet (minimum 6mm thick) following the shoe's shape.
Checkpoint: The acrylic piece must support your full weight without flexing more than 2mm. - Attach the support to the base shoe: Use two-part epoxy to fuse the acrylic to the sole of an old running shoe or sturdy boot. Remove the original sole if necessary for a flatter fit.
Checkpoint: The shoe should not show lateral movement relative to the acrylic base. - Camouflage the structure: Use EVA foam to create the shoe's "shell." Apply Plasti-Dip or high-resistance sealant to ensure the paint does not peel off with friction.
Checkpoint: The structure should allow you to stand stably for 5 minutes without excessive discomfort. - Test the optical illusion: Ask someone to observe you from different angles (below, front, and side). If the support is visible, add decorative elements or painted "shadows" to break the structure's silhouette.
Checkpoint: The illusion must be convincing from a distance of at least 2 meters.
Advanced tips for challenging physics
To level up, study how lighting affects perception. The use of strategic LEDs, as detailed in our Light and LED Effects Guide, can distract the observer's eye from the physical structure of the support. When the viewer focuses on the glow, they tend to ignore the shadows caused by the supports.
Furthermore, modern cosplay engineering uses composite materials. If the acrylic is too heavy, consider layers of fiberglass interleaved with resin. This creates an extremely lightweight and rigid piece, ideal for long periods of wear at events. To learn more about how to keep props "floating" safely, consult our Floating Effect Props Guide.
When finishing your project, always remember to test mobility. The cosplay optical illusion loses all its value if you cannot move naturally. Safety is the final component of any well-executed challenging cosplay physics effect.
Time Management Strategies and Construction Timeline
Creating floating effects is not a last-minute task; haste is the enemy of structural integrity. For an intermediate-level project, set aside a timeline of 4 to 6 weeks. In the first week, dedicate yourself exclusively to mapping the center of gravity and creating molds in rigid cardboard (or 5mm foamboard). Do not underestimate the curing time of adhesives: high-strength epoxy resins, such as Araldite Professional, require 24 hours for full cure before supporting any weight load.
In the second week, focus on the internal structure. If using 10mm polycarbonate rods or structural aluminum, cutting and mechanical fastening (bolts with self-locking nuts) consume about 8 to 10 hours of manual labor to ensure there is no play. The third week is dedicated to finishing (sanding with 80, 120, and 220 grit) and sealing the material (using Plasti Dip or acrylic sealant). Reserve the last week for stress testing in a controlled environment — walking at home for 30 minutes is essential to identify fatigue points in the material before exposing the cosplay to an event. Adding a 20% margin of error to your schedule prevents you from sacrificing safety for the sake of aesthetic completion.
Technical Documentation and Referencing for Future Builds
Documentation is the difference between an amateur cosplayer and a costume engineer. Keep a digital or physical "Build Journal." Photograph every stage of the internal structure before sealing it with the external finish. Use a tape measure in all photos to record the exact distances between the heel and the anchor point, as these measurements will be invaluable if you decide to replicate the effect for another character.
Create a "Failure Inventory": note which adhesives failed, which screws stripped, and which types of foam (10mm vs. 5mm high-density EVA) showed thermal deformation under direct sunlight. Use apps like Notion or Trello to create a material database. If you used an 8mm acrylic sheet for the support base, record the brand and density. Having a record of "what didn't work" is just as valuable as the final design, as it prevents you from making the same calculation error in future projects. By documenting, you not only protect your current investment but create a personalized engineering manual that speeds up your workflow by 50% on next challenging physics creations.
Aesthetic Integration: Camouflaging Anchor Points and Transitions
The most common technical error that breaks the floating illusion is the visibility of the connection points between the footwear and the base. To disguise the structure, use "layer overlapping" techniques. If your support rod is metal, wrap it in a high-compression elastic mesh of the same color as your costume or skin. Another effective technique is the creation of "distraction elements" in the design: add ornamental pieces, such as floating armor plates, resin gems, or ribbons that start from the footwear and follow toward the leg.
When applying the finish, ensure the transition between the rigid material (the base) and the flexible material (the footwear/fabric) is done with a layer of flexible primer, such as Flexbond. If you apply rigid acrylic paint directly over a movement joint, it will crack on the first walk. Sealing should be done with a layer of matte polyurethane varnish, which prevents dirt buildup in the joints and keeps the visual illusion homogeneous under stage lights or camera flashes, where any excessive shine would reveal the support structure.
The journey to defy gravity is a test of patience and precision, but seeing your character come to life, detached from the ground as if on a higher plane, makes every hour of sanding and structural testing worthwhile. Remember that the perfect illusion lies in the union between technical rigor and your passion for bringing the impossible into reality. Trust your planning, respect the limits of the materials, and prepare to see the public genuinely wonder how you manage to defy the laws of physics before their eyes.